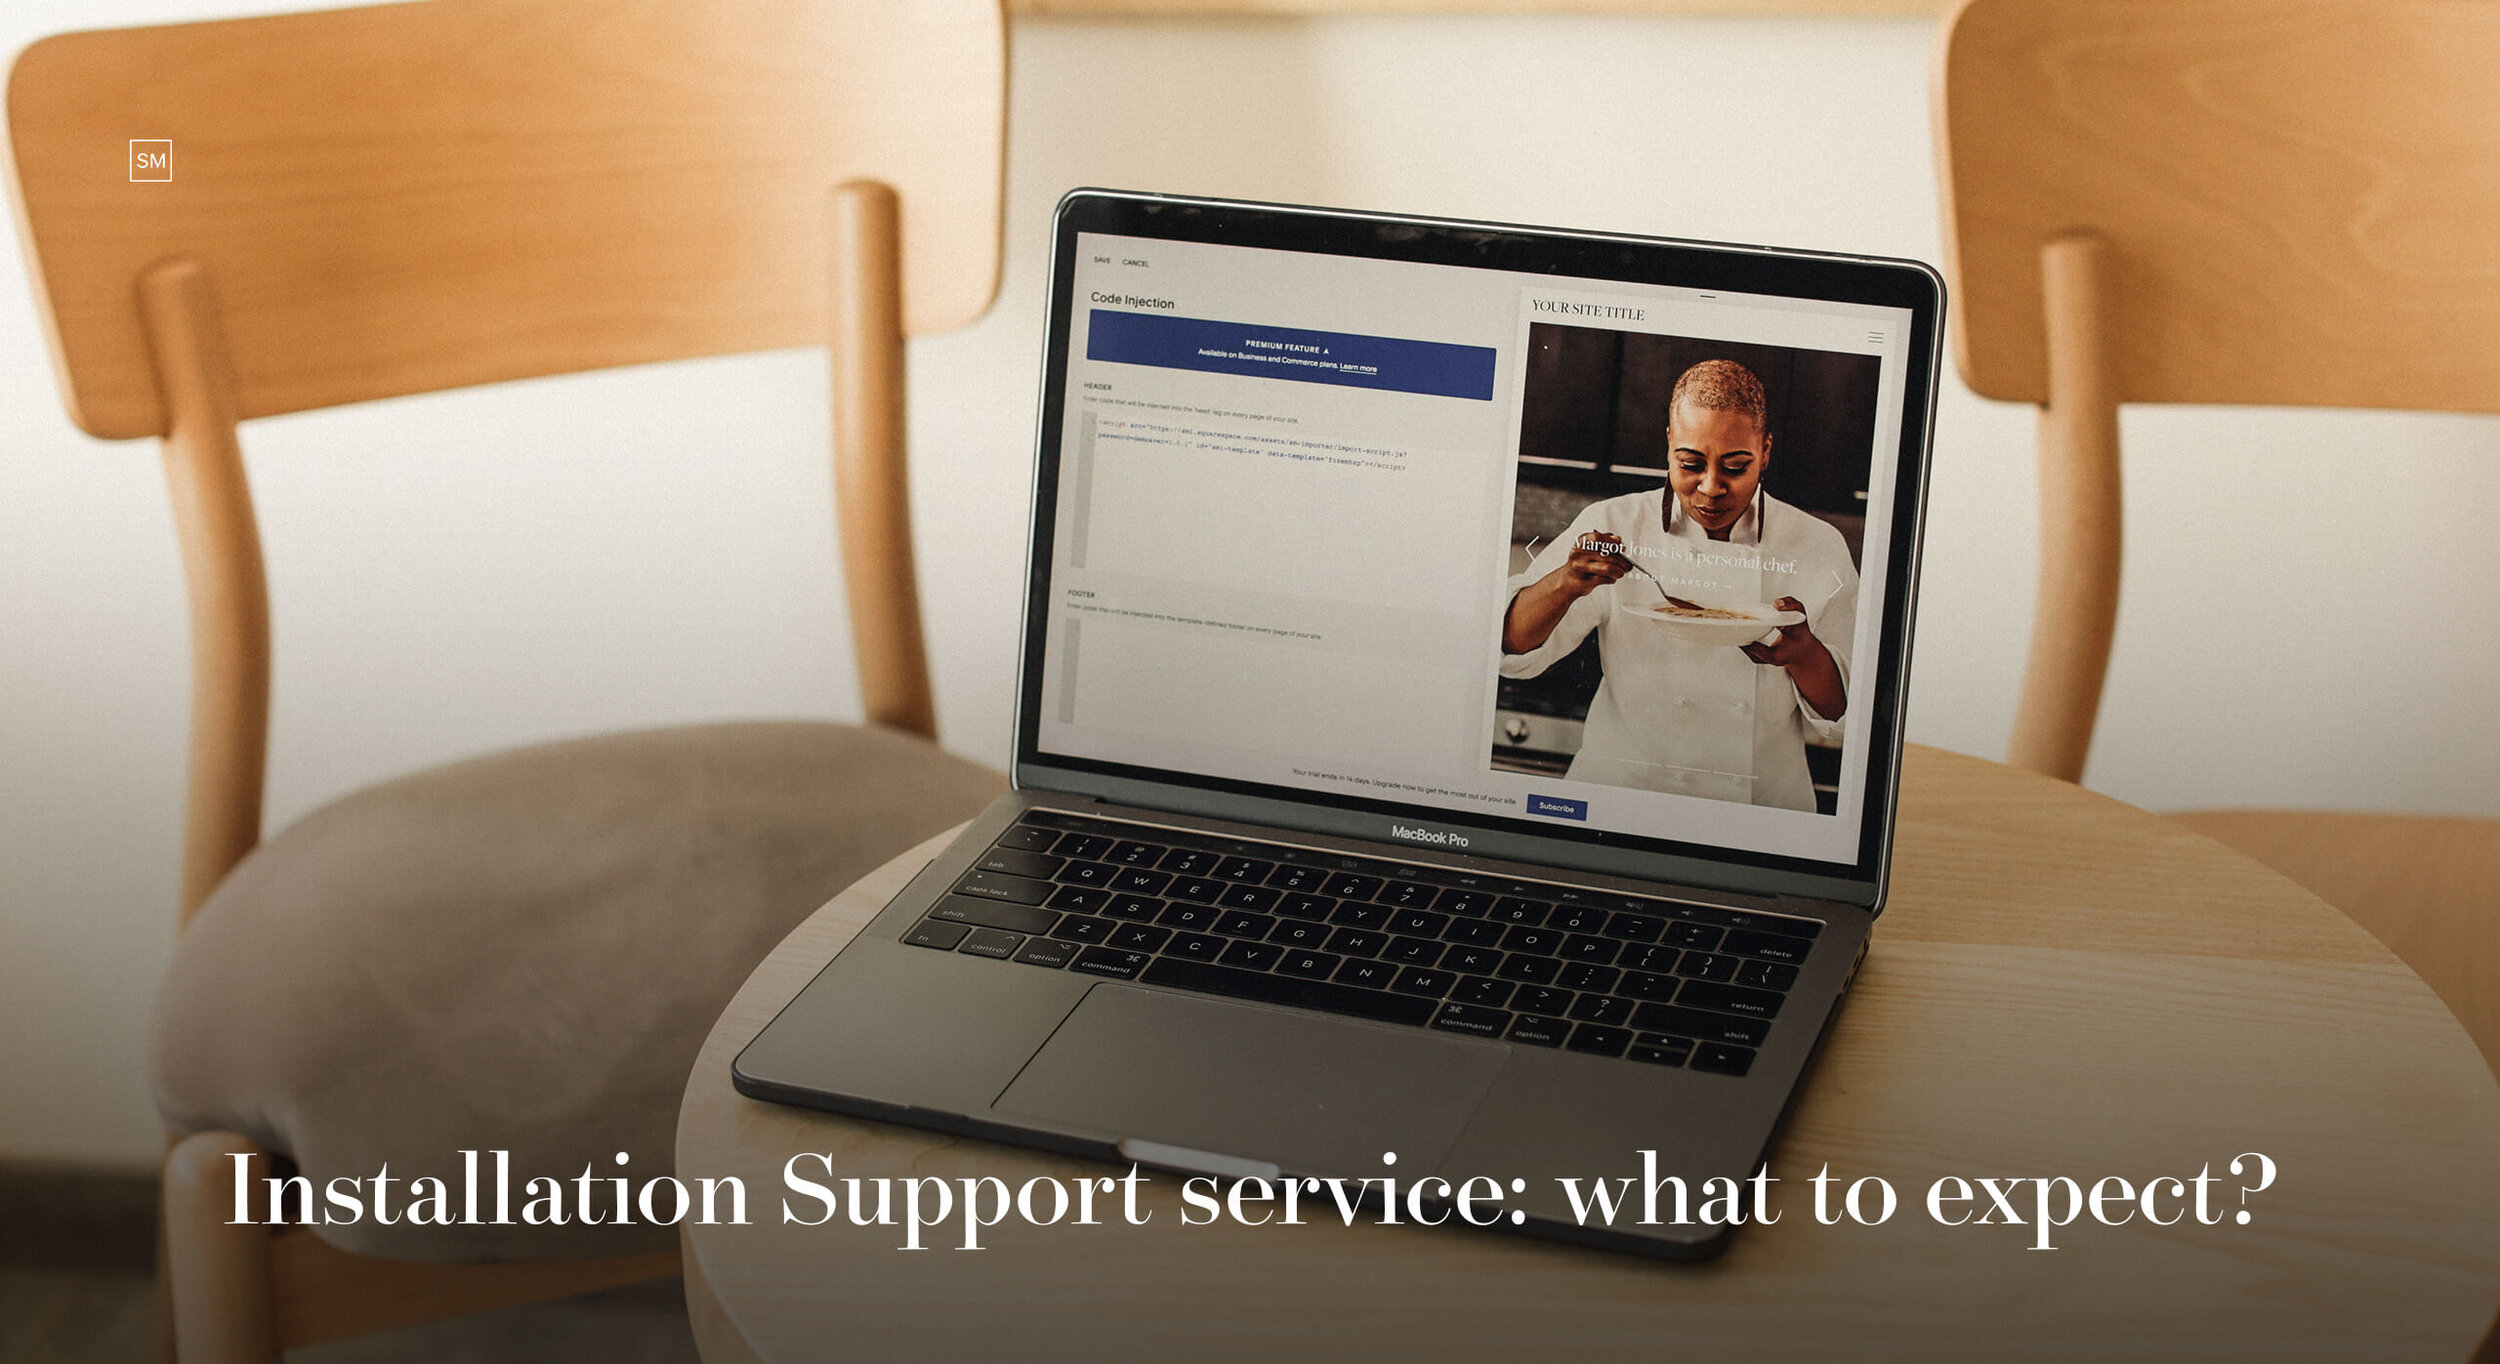
Squaremuse Installation Support service helps you skip the boring, technical part and get straight to personalizing your new website, saving you valuable days (and nerves). This article will cover the 8 steps you need to take after purchasing our Installation Support service, in order to launch a website you really love and are proud of.
Installation Support service - what to expect?
First of all, congrats on choosing to work with our team, you made a good decision :) While you focus on family and business, we will take care of all the heavy-duty work on your website. In the end, all you have to do is add content (beautiful pictures and genuine text) and a little bit of magic to truly make this website your own.
STEP 0. SETUP BY SQUAREMUSE TEAM
The first thing to do after purchasing our Installation Support is to submit a contributor invitation to our team for your Squarespace site. Please send it to support@squaremuse.com. To do that, go to your dashboard, then Settings → Permissions → Invite Contributor → Admin Role.
Our team will continue working on your new Squarespace 7.0 website in preview mode, and you can keep your current site active.
If you have a 7.1 website, and since Squarespace doesn’t allow working in Preview Mode - you’ll need to create a cover(Coming Soon) page and have it set as the homepage until your new website is launched. If you don’t manage to create a cover page our team will go ahead and create a default one for you.
We’ll take it from there and set everything up for you within 2 business days. The Installation Support includes implementing demo pages, setting your site’s styles, and applying CSS code needed for your design. Once the installation process is complete, you will just need to add your own images and text to personalize the design. When everything is done, you will be able to launch your new site. While our team takes care of the installation process for you, it is helpful to get acquainted with the general overview of the Squarespace dashboard to be aware of the main areas we use for our design kits.
STEP 1. PREVIEW THE NEW TEMPLATE
Once the setup is finished from our side, you will receive a completion email about the new template for your Squarespace website.
Only for Squarespace 7.0 users: In your dashboard, go to Design → Template, and check out the template specified by our team. You only have to click “Preview” to see the new site’s demo pages. You can cancel the Preview any time to go back to your live site’s preview in your dashboard. This action will not cancel the setup that has been done by our team. So no worries, and take your time to prepare your new site.
STEP 2. CHOOSE YOUR SITE PAGES LAYOUTS
If your new site is built with a design kit that offers several layouts for your pages, take a moment to decide which layout you want to use for your new website. Use the pages you’ve chosen to build your header navigation, some hidden pages may be still stored in the Not Linked area, especially if you are using a dropdown, where the dropdown page is an Index Pages. All unnecessary page options will also be moved to your Not Linked area. Do not delete these pages. They will come in handy if you want to use just a section, or use page layouts and options in the future.

For now you just need to Disable these pages (screenshot above), and go to SEO tab and hide them from search engines. There are several reasons why this is done. Even if the page is in Not Linked area, it is still indexed by Google unless it’s disabled. This means that users can accidentally end up on a page that was not meant to be public. Think wrong images, dummy content. Secondly, your SEO will be affected as Google will index the page and store this information about your site.
STEP 3. FURTHER CUSTOMIZE THE NEW DESIGN
If you are happy to use the fonts and colors that go with the design kit you’ve chosen and there are not styling changes you want to make, you can skip straight to step 4.
However, if you have specific branding guidelines, you may want to update colors and fonts to match your own brand identity. There are two places where you will need to make adjustments:
Site Styles
In order to change the color/font for a specific element, you simply have to click on that element and the settings will appear on the left side, allowing you to easily tweak it. All Style settings for your design kit can be found inside your documentation page under Step 2. This will help you know which elements on the site are edited from this tab in your dashboard.
It’s good to know that the Site Styles for a specific element will appear only when you have this element on the page you’re on. For example: if you want to change the font of the Blog Post Titles while you’re on the homepage, you won’t be able to locate that setting inside your Site Styles. For this to happen, you need to go to the Blog Page and then open your Site Styles. In this case, you will have everything needed on the left side menu.
If you are on Squarespace 7.1, please check this article, as the Site Styles panel was broken down into separate panels for Fonts, Colors, Animations, Spacing, Buttons and Image Blocks.
Custom CSS (Design tab → Custom CSS)
There are styling options that we achieve through custom code. Your design kit’s documentation page will have a separate video inside Step 3 tab for Squarespace 7.0 or Step 2 tab for Squarespace 7.1, going over CSS code alone and explaining main elements that you can easily adjust on your own directly inside the CSS code.
If you need further assistance with the customization or if you’d like to have our team implement your branding elements for you, ie. custom fonts, colors, you can hire us at any time by purchasing one of our Support add-on. First, you will need to submit a customization request through the form here and our team will confirm the required support add-on package to be able to proceed.
STEP 4. CONTENT MANAGEMENT
Let the fun begin! :) This step will take most of your time, while also is the step where you will make the new design truly your own, with your imagery and text.
Inside your design kit’s documentation, under Step 3 tab for Squarespace 7.0 or Step 1 tab for Squarespace 7.1 you will find a video playlist on how to add text and images on your new website.
Additionally, we share a list of recommended assets to have ready to ensure that the process of adding content is easy breezy. Here are some important aspects for you to remember while you go through the content population process:
Migrate your text
Good news is that your Blog and Galleries transfer through and you can use them as is inside the new site, so you just need to make sure you migrate all the text from your old info pages into the new ones (if this is the case) This is highly recommended in order to keep your SEO intact and building on top of the same key words and written content.
Image Optimization
At this point, it is very important to optimize all the images that you’re uploading to your website, to ensure a fast loading speed. As photographers and creatives, we completely understand the desire to showcase sharp, crispy images (even on 5-8k screens), however by doing so, very often you compromise your site’s loading speed. This harms your SEO and the experience your site visitors get while browsing through your pages. No need to panic though, there are tools that allow you to optimize your photos while maintaining your crystal clear quality. No compromises. You can find more details on this topic here. Also, if you prefer to add more than 50 images in a blogpost, check out this article on how to use Narrative Publish to create unique blogpost layouts, and ensure your images load fast.
Include branding assets
If you have any graphics or visual assets for your brand (i.e. graphic elements, typography elements), feel free to include them on your website. You can easily add these on top of your new site design. Note: some of our design kits include graphic elements (ie. Ónyx, D’Avella, Black Ónyx, Venice) - for each one of these you will find a video tutorial under Step 3 (for Squarespace 7.0) or Step 1 (for Squarespace 7.1) in your documentation. We highly recommend to use your branding elements within the graphics as well, to keep your visual aesthetic consistent.
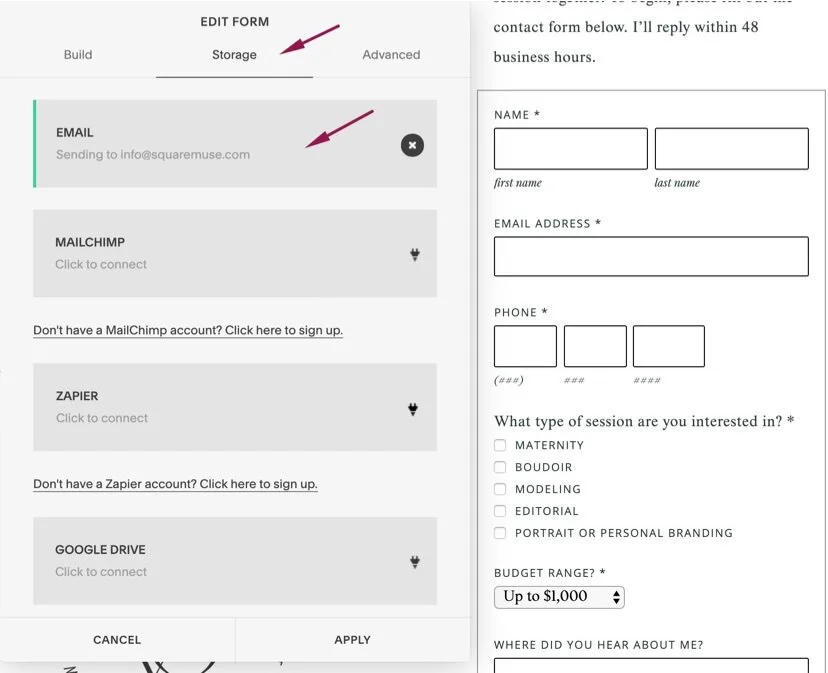
Connect your contact form
When you first receive the demo setup, your contact form will be connected to your email address. We still highly encourage you to go ahead and double-check everything. Make a test inquiry and check the functionality of the form. If you use a 3rd party tool like Honeybook, Dubsado etc., you’ll have to delete this form block, replace it with a code block and add your embed code there.
STEP 5. CHECK SLUGS, SITEMAP AND BROKEN LINKS
At this point you should already have all content replaced and no dummy content left. If you are happy the way the site looks and you’re ready to push this beauty live, take 20-30 minutes to go over some important SEO and technical aspects:
Make sure your sitemap for the new website is the same as in your current site, to avoid any broken links. Here’s a video explaining how to replace slugs and make sure you have the correct sitemap.
In case you have any broken links in your current site, you’ll need to setup redirects, to avoid getting 404s. Broken links can really harm your SEO and increase your bounce rate, so better address this. Here is a video that explains how to do it.
STEP 6. DOUBLE-CHECK THE BUTTONS
Since you changed the URL slugs for the majority of your pages, your buttons will not be functional anymore and they need to be updated. Take all existing pages, one by one, and make sure all buttons are properly connected.
STEP 7: SET YOUR WEBSITE LIVE
Before publishing your new site, make sure to have your favicon and logo uploaded. To update these on your 7.0 website, go to Design > Logo & Title. Drag your image into the image uploader area, or click the uploader to choose a file from your computer. Save.
To upload your Favicon to your 7.1 website, go to Design > Browser Icon. Drag your image into the image uploader area, or click the uploader to choose a file from your computer. Save. To upload your logo in 7.1 - edit any page, then go to Edit Site Header > Site Title & Logo, as shown below.
Upload both your logo & your favicon as .png files. This is important to be done upon site launch. If you do this way before your new site launch, this specific setting’s update will affect your current live site.

Adding a Logo and Favicon to your Squarespace 7.0 website
Adding a Logo and Favicon to your Squarespace 7.0 website
Before you push your site live, you can go over this checklist to make sure everything is in order and you haven’t forgotten any crucial aspects.
Now that we’re all set and everything’s functional, you’re ready to set your website live! To do so, simply click on the “Publish Site” or “Set Live” button at the bottom of your page and it’s time to pop that champagne!
STEP 8: COLLECT COMPLIMENTS AND WATCH YOUR BUSINESS GROW!
Share your newly created website with the world by using our free marketing launch banners to make the announcement. Share your new site with us and let’s do a happy dance together 😊
Note that you have 1 week of free support with our team after the first preview was shared. Take this into consideration and reach out for help at any time, if you get stuck or have questions. We are here to help you achieve the website you’ll be proud to share with your clients, friends and family!
If you haven’t already, purchase the Installation Support Service here. Installation Support service is only available for Squarespace 7.0 users, as well as for Squarespace 7.1 users who want the design kit implemented inside an existing 7.1 account. For all new 7.1 websites ‑ a free demo setup is included with the design kit purchase.
Creatively yours,
Squaremuse.