Are you considering to buy a Squaremuse Design Kit? In this article you will find everything you need to know about Squaremuse designs, before you make a purchase: how to choose the best template for your brand, what happens after you buy, what assets you receive when you place the order, what to expect from the installation process, and even how “techy” you need to be in order to work with our designs (spoiler alert: not techy at all).
How Squaremuse Design Kits work and How to Choose one
What is Squaremuse?
As a small team of passionate folks (mostly ladies), we offer Premium Squarespace Designs that cater to the needs of anyone who calls themselves a creative - photographers, videographers, visuals artists, brand designers, make up and beauty artists, event planners, interior designers, and the list goes on.
Our purpose is to take your generic Squarespace site to the next level. We aim to push the platform’s boundaries and create designs that are both beautiful and extremely functional, so that you get a custom-looking and unique website at the price of a template. Fun fact: our design kits cost less than 4% from what you would pay for a custom website.
Why you should get a Squaremuse template
While Squarespace is famous for the ease of use and simplicity, its generic templates are often not enough for creatives who have a lot to offer online. In order to stand out of the crowd, you need a web design that offers a variety of impactful layouts and tells your brand’s story in a compelling and memorable way. That’s where Squaremuse comes in.
Our Designs are called “premium” for a reason. There is more to each product than just its final look. We’re talking about our approach towards design creation, that entails thorough research and intentionality. Each design is purposefully crafted with specific businesses in mind, to help you differentiate online and bring in more bookings.
Squaremuse templates encompass premium custom functionality, that you can’t otherwise achieve with Squarespace features alone. Yes, they are created using custom code, however, “non-techy” folks shouldn’t look away. Some of our design kits’ looks and layouts are achieved through Squarespace’s site styles settings, and some of it - through CSS. No code proficiency is required, just basic code understanding. If at any point you need code-related help (and not only), you can always reach out to our support team.
With your purchase, you get access to detailed tutorials and step-by step videos to guide through website implementation and customization. This wonderful process helps you learn so much about Squarespace, lets you have more control over your site, and make changes to it any time you decide to.
There is more! When you invest into a design kit, you also get tons of resources and freebies from our team - illustrations packs, checklists and guides, and access to a community of likeminded people who use Squaremuse for their own website and can help you out when you’re feeling stuck. Additionally, all our clients receive free Support with their purchase.

3 criteria to choose a Squaremuse Design Kit
#1. Your Squarespace version
This is important. Go to your Help Tab inside your Squarespace dashboard and check your version - 7.0 or 7.1. Each design kit is named accordingly, depending on the Squarespace version it’s compatible with. 7.0 and 7.1 are completely different in functionality. Your 7.0 design kit will not work on 7.1 and vice versa, and it cannot simply be swapped to match the version. Due to the digital nature of our products, we do not offer refunds or swaps, so it’s important to double check the Squarespace version before you purchase.
If you’re on 7.0 and are planning to purchase a 7.1 Design Kit, keep in mind that there is no automatic migration path between the platforms and you will need to start on 7.1 from scratch. Check out this article - it covers the whole process and what to expect, as well as important details to consider.
#2. Design Kit Layouts
Look at how content is presented inside the design template and check if it offers all the pages, blocks and sections that you need. Take a good look at the services page, portfolio, process, testimonials, About me, if there is a shop page layout available (in case you’re considering to run an online shop on your site). Are the layouts in sync with how you want your information presented? Can you see your own content in these layouts? What is your brand narrative? Do you need a design kit that supports larger text blocks or should it be more minimalistic and image oriented? These are all important aspects as you review the available designs that we offer.
#3. Styling & Aesthetics
While aesthetics and the overall feel of the design kit is important, remember that you can personalize everything - change fonts and colors, swap the graphic assets or illustrations with your own brand assets, or duplicate certain sections on your site and use them across other pages. So, first choose base on criteria 1 and 2, and then narrow your choice down based on styling, in case you have a few options. Pick a design that looks closest to the end-result you have in mind, be that a bolder look or a more fine-art vibe.
Important Requirement: Our design kits require Squarespace Business plan or higher, since the most of them include custom functionality achieved through custom code. However, you won’t need a plan right away, as you can start with a trial version. View all Squarespace pricing plans here.
If you need help deciding or have any questions before you purchase, know that our team is always here to help - so shoot us a message on Facebook Chat or email at info@squaremuse.com.

Design Kits for Squarespace 7.1 - how they work
A. For new 7.1 websites
When you purchase a 7.1 design kit, you get the demo design kit installed as a new Squarespace trial site directly into your account. That’s a FREE demo setup, and a website that you can start populating with content and adding your branding to, right away. This saves you HOURS of DIY work and lets you launch your website faster.
Here is what happens after you purchase a 7.1 Design Kit:
1. Wait for your new site
Within 24h from the purchase, you will receive an invitation from our team, to access a new TRIAL website with your design kit demo. Once you accept the invite, you will be transferred the website ownership and it will now be part of your Squarespace account. Exception are weekends, when you can expect a 48hours turn around.
IMPORTANT: At this point you only need to have a Squarespace account to be able to receive your new site. No need to upgrade to a paid Squarespace plan yet.
2. Access documentation
With the purchase, you’ll also receive a confirmation email, along with a PDF file that includes a password protected link to access your documentation. Please, download the PDF right away, as the link expires in 24hours.
Once you access your documentation, you’ll have unrestricted access to it. That’s where you will find all the product assets, custom code, and tutorials to walk you through your design kit implementation. All video tutorials are password protected - the passcode is mentioned in each article inside the documentation (please, do not refer back to the passcode in your PDF). You will use these to work on your new site, after you receive it from our team (step 1 above).
3. Add Content & Personalize
Once you receive the demo pages from our team, the design kit will be stylized and will look exactly as the demo site, but with placeholder images. Now you can jump straight to adding your content - images and text. Our tutorials are broken down into bite-sized sections, covering individual pages in the design kit.
At this stage, we’ll review how the styles are achieved through Squarespace settings and through code. Additionally we will show you how to personalize your site to match your brand, stylize colors, fonts, we’ll go over the CSS code to adjust certain sections on your site, add your own graphic assets, customize pages - for example remove sections you don’t need, or duplicate blocks and use them across other pages. We promise, there is no need to be code proficient to add the code to your site (it’s a copy-paste matter), but you need to have basic code understanding to customize it. Just follow the tutorials and you’re golden, or ask for help from our Support Team.
4. Launch your site & celebrate
Now you’re ready to launch your website. Just before you push it live, you can upgrade your plan to a paid one. To help you with a safe and smooth launch, we’ve prepared easy to use resources like a Website Launch Checklist, that you will find inside your documentation, and marketing assets and banners to announce your website and celebrate it with your community.
B. If you need the Design Kit implemented inside an existing 7.1 website
If you already have a 7.1. website, you’ll need to add Installation Support to the cart to have our team install the design on top of your existing website manually. Compared to 7.0 version, Squarespace 7.1. does not have a Preview Mode option that would allow an automatic implementation of a new design while your website is live. As such, you will also be required to add a Coming Soon page while we implement the design kit demo. If you don’t manage to create a cover page, our team will go ahead and create a default one for you.
Once the design is implemented on your website, you can start populating it with content and personalizing it, as mentioned in step 2-4 in the section above.
Check out all our Design Kits for Squarespace 7.1:


Design Kits for Squarespace 7.0 - how they work
In Squarespace 7.0, you can work on your new design kit in preview mode, while keeping your current site active, and switch to the new website when you’re ready. It won’t be necessary to add a “Coming soon” page. The only exception is if your current site is running on the same Squarespace 7.0 template as the design kit you’re planning to purchase (each 7.0 design kit has this information on the product page).
What to expect after you purchase a 7.0 Design Kit:
1. Access documentation
Immediately after you place the order, you’ll receive a confirmation email, along with a PDF file that contains a password protected link to access your tutorials. Please, download the PDF right away, as the link expires in 24hours.
Once you access your documentation, you’ll have unrestricted access to it. That’s where you will find all the product assets, custom code, and tutorials to walk you through your design kit implementation. All videos tutorials are password protected - the passcode is mentioned in each article inside the documentation (please, do not refer back to the passcode in your PDF).
2. Run the Automatic Installer
This feature is an absolute game changer for our clients, as it saves hours of manual work of putting your design kit pages together. In less than 5 minutes, all the demo pages of your design kit are implemented.
Check out this video to see how our 7.0 Installer works:
3. Stylize your site
Once you have your pages set up, you will continue with building your header and footer, adjusting your site styles settings and adding the custom code - all covered in our thorough video tutorials.
4. Add Content & Personalize
At this point you’ll populate the demo site with your own images and text. Optionally, you will go over the CSS code to adjust colors or fonts to match your brand, add your own graphic assets, and customize pages - for example, remove sections you don’t need, or duplicate certain blocks and use them across other pages. The sky’s the limit. You don’t have to be proficient to add the code to your site (a copy-paste matter), but you must have basic code understanding to customize it. Again - our tutorials guide you through the whole process, or you can always reach out for help to our team.
5. Launch your site & celebrate
Now you’re ready to launch your website. Just before you push it live, you can upgrade your plan to a paid one. To help you with a safe and smooth launch, we’ve prepared easy to use resources like a Website Launch Checklist, that you will find inside your documentation, and marketing assets and banners to announce your website and celebrate it with your community.
Here is a quick video overview on how 7.0 Design Kits work:
Check out all our Design Kits for Squarespace 7.0
Summary Block
What our clients say & real site examples
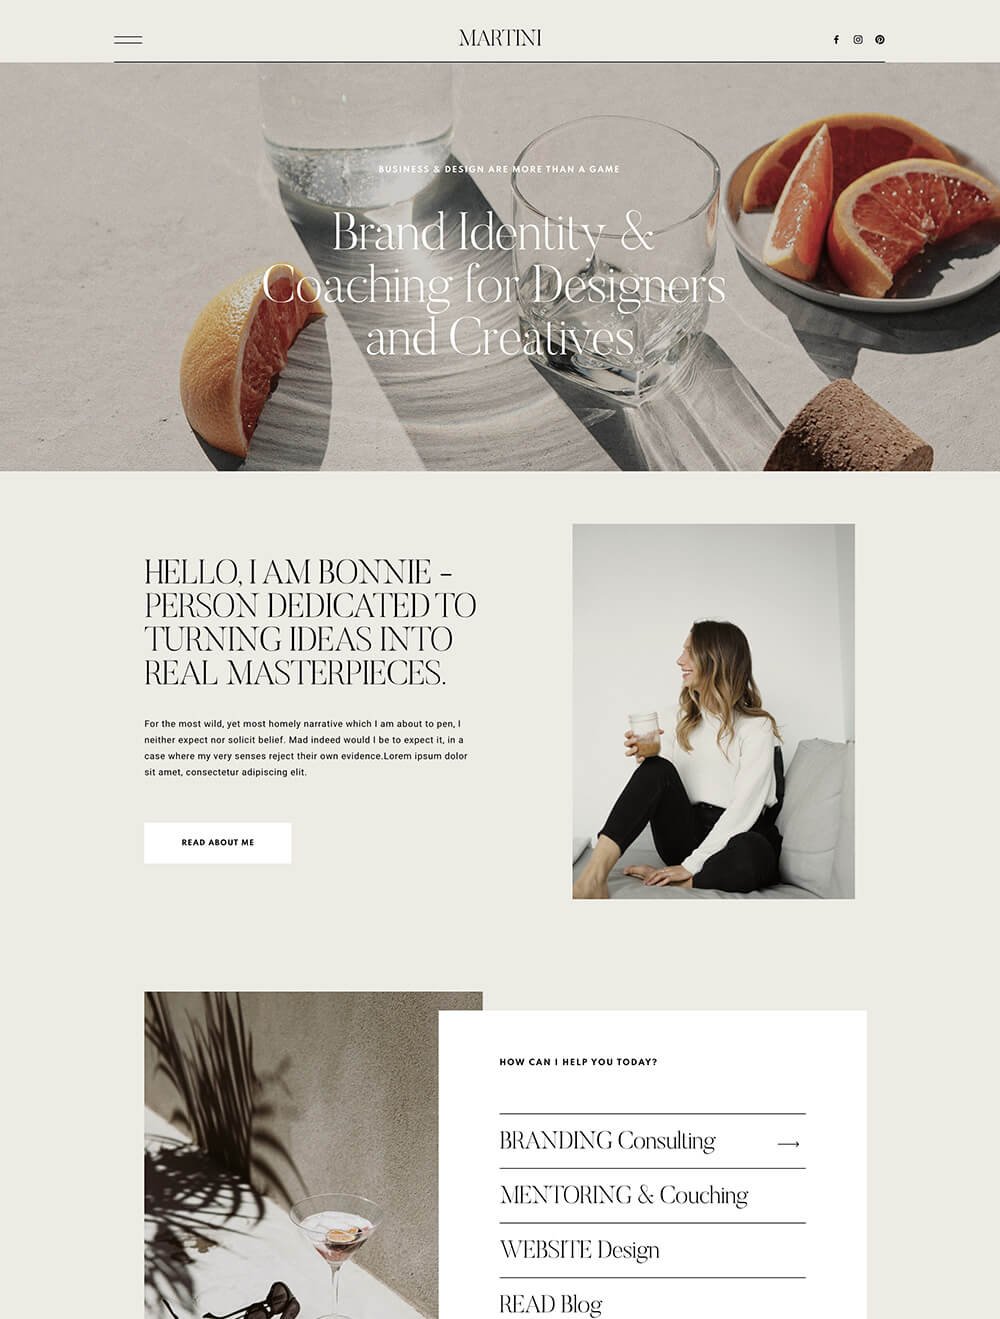
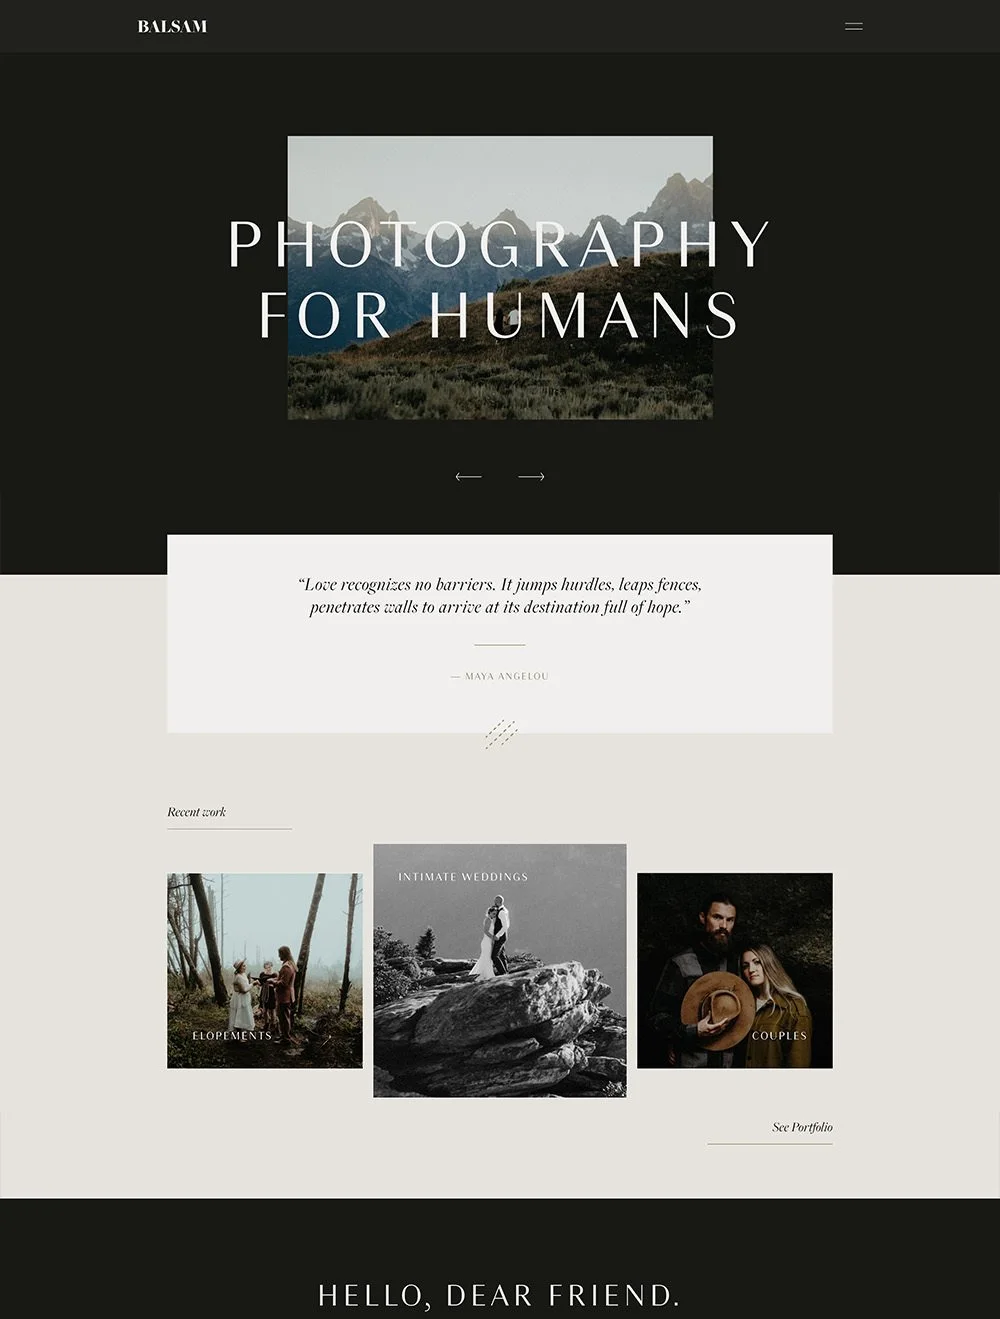
Wondering how our design kits can be customized and adapted to various industries? Check out these real website examples built by our clients, with Squaremuse designs, and read about their experience with us.
Got more questions? Check out our FAQ’s here or email us at info@squaremuse.com.
Do you have a design kit in mind and you’re ready to go for it? We’ve got a nice surprise for you! Grab 20% off on all design kits and save up to $60 on your order - use code HAPPYMUSE20 at checkout.
Want to stay connected with us and get news about upcoming designs, various freebies and resources directly in your inbox? Sign up to our newsletter here.
Did you enjoy this article? Pin it to Pinterest!