As a part of the Squarespace community and as Squarespace users ourselves, we often encounter questions related to the platform. Fortunately, by using it every single day we have come across some awesome answers, tips & tricks that Squarespace allows you to implement on your website, in order to make it more useful, personalized and fun. This article explores the areas and features within your Squarespace account that we believe are worth your attention.
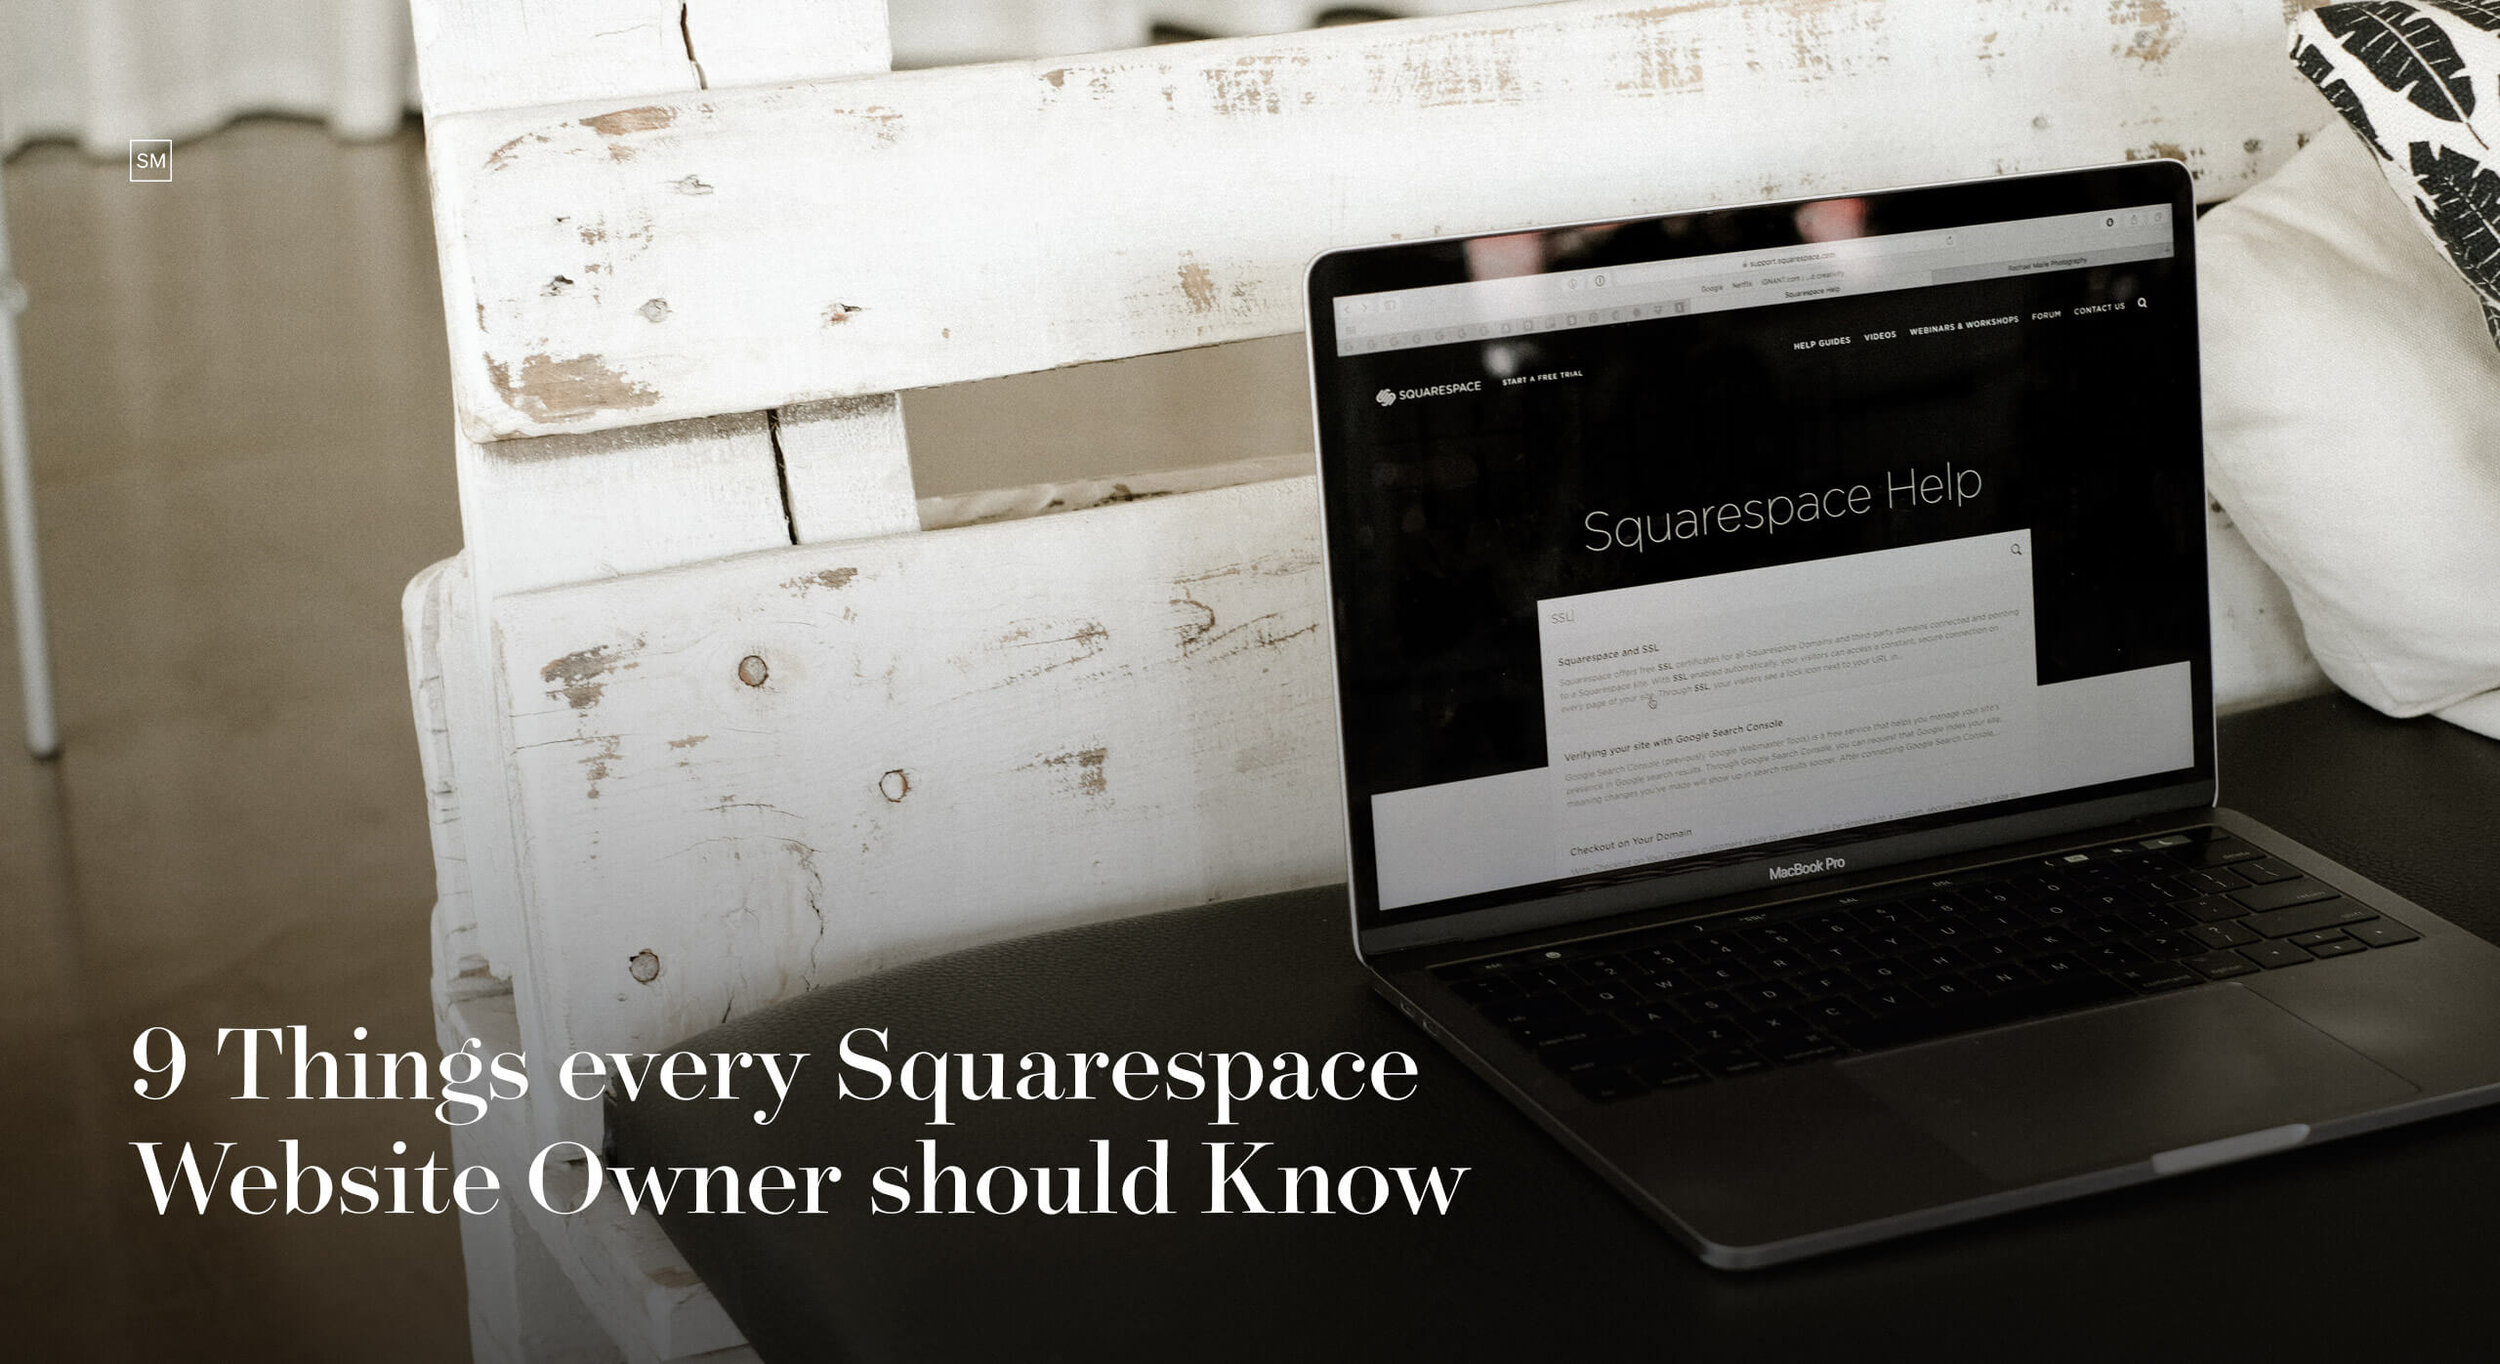
9 Things Every Squarespace Website Owner Should Know
1. Announcement Bar.
If you have “actionable” updates to share with your visitors - a current giveaway, a coupon/discount code or a fresh blog post, it might be a great idea to enable an announcement bar. The announcement bar is that 1-2 sentence announcement space at the very top of a website. It pops at the top as the site loads but isn’t obtrusive. To activate the option on your Squarespace site you need to go your sidebar clicking Marketing -> Announcement Bar -> Enable Announcement Bar. A window will pop-up and you can write your text and choose whether you want to insert a hyperlink or redirect your visitors to another page on your site.
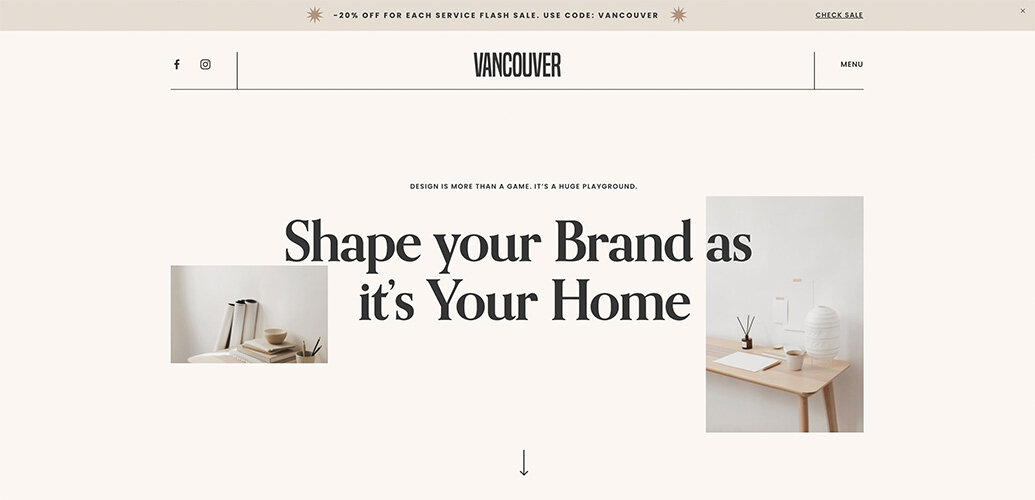
If you want something more original, our Vancouver design kit has 2 stylized announcement bars, and one of them even has a countdown!
2. POP-UP Feature.
You can create your own pop-ups on your Squarespace website, without the need to sign up/download other third-party apps or insert some code. You can enable it for special/limited periods of time - when hosting a giveaway or a sale, just to inform and trigger your visitors to use it. But also, you can have the pop-up at all times - for growing your email list or when offering a freebie or eBook to your visitors. The feature has various styles to choose from, you can customize it as your creative mind wishes. Timing, size, position - all adjustable. We’ve created an explanatory video on how you can implement, customize and use this awesome new feature:
3. Hide Pages From the Main Navigation.
Want to include an additional page, but not have it appear in your top navigation bar? For example, maybe a page dedicated to your testimonials? There’s no secret coding necessary to do that. Create the page like you would create any other page, go to Pages -> Scroll Down -> Not Linked -> Click + -> Add Page.
4. Display the Right Image on Social Links.
We’ve seen people wondering why the right image isn’t displaying when they post a link on their Facebook page, happened to us a few times as well. If you have, for example, a blog image that isn’t appearing correctly, you’ll want to use the Facebook Debugger Tool. Paste the link that you want to post, and click Debug. You’ll be able to see a preview of how your post will be displayed. Copy and Paste the Fetched URL to your Facebook page. In case you want to post just the link to your site as a whole, not a specific page or post - you can customize that as well. Go to Design -> Social Sharing -> Social Sharing Logo, where you can upload a new image that will display when you post on Facebook.
5. Favicon Upload.
Favicon is the little icon that goes into your browser when you are on a website. It adds a personal and branded touch, otherwise Squarespace will insert the “generic black cube” and we don’t need that. To upload your Favicon you need to go to Design -> Browser Icon -> Browser Icon (Favicon). Make sure that the image is saved as an .ico or a .png file. The recommended file dimensions for a Favicon are 100px × 100px to 300px × 300px.
6. Remove “MADE WITH Squarespace” from the Footer.
In order to make the website look cleaner, you can easily remove the “Made with Squarespace” text in the footer. From your website backend - hover over the unwanted section -> Edit -> hover over again -> Click the trash bin -> Save. Instead, you can insert your own copyright info or as a help to your SEO: i.e. Seattle’s Top 10 Wedding Photographer or Named One of The Rangefinder’s 30 Rising Stars 2017.
7. Login Into the Website with Escape Key.
You can easily login into your website without entering your login details over and over again through Squarespace’s site. Go to your website domain and just press the escape key on your keyboard and the login page will immediately appear. Moreover, if you’ve logged in and the details are saved it will automatically redirect you to your website backend.
8. Change the Focal Point of Your Banner/Thumbnail Image.
Squarespace allows you to change the center of your homepage image without previously cropping or specially preparing it. On your homepage click Edit -> Edit Section -> Background -> Image, and place the little circle to the point of the photo you want to focus on. Click Save and you’ll able to see how the center of the image moved, decide how you better like it and play around with it.
9. Site styles.
This section is your best friend and it’s found inside the Design option in the dashboard. It incorporates lots of different features - fonts, colors, animations and so on. You can control everything style related here. Whenever you are working with a specific element or section on the page, you can click on it and see all of the available extended features for the particular section design-wise. Get creative! And when you’re done with your magic, you have the option to preview how your website looks like on different devices, namely Desktop, Tablet and Phone. To see that, when you're logged, hover over your website homepage - and an arrow will appear with the 3 view options.
Squarespace has lots of great features, that are often hidden within its dashboard. We hope you are excited to explore the platform and learn all the available tools in order to be in control of your website.
Creatively yours,
Squaremuse Team.