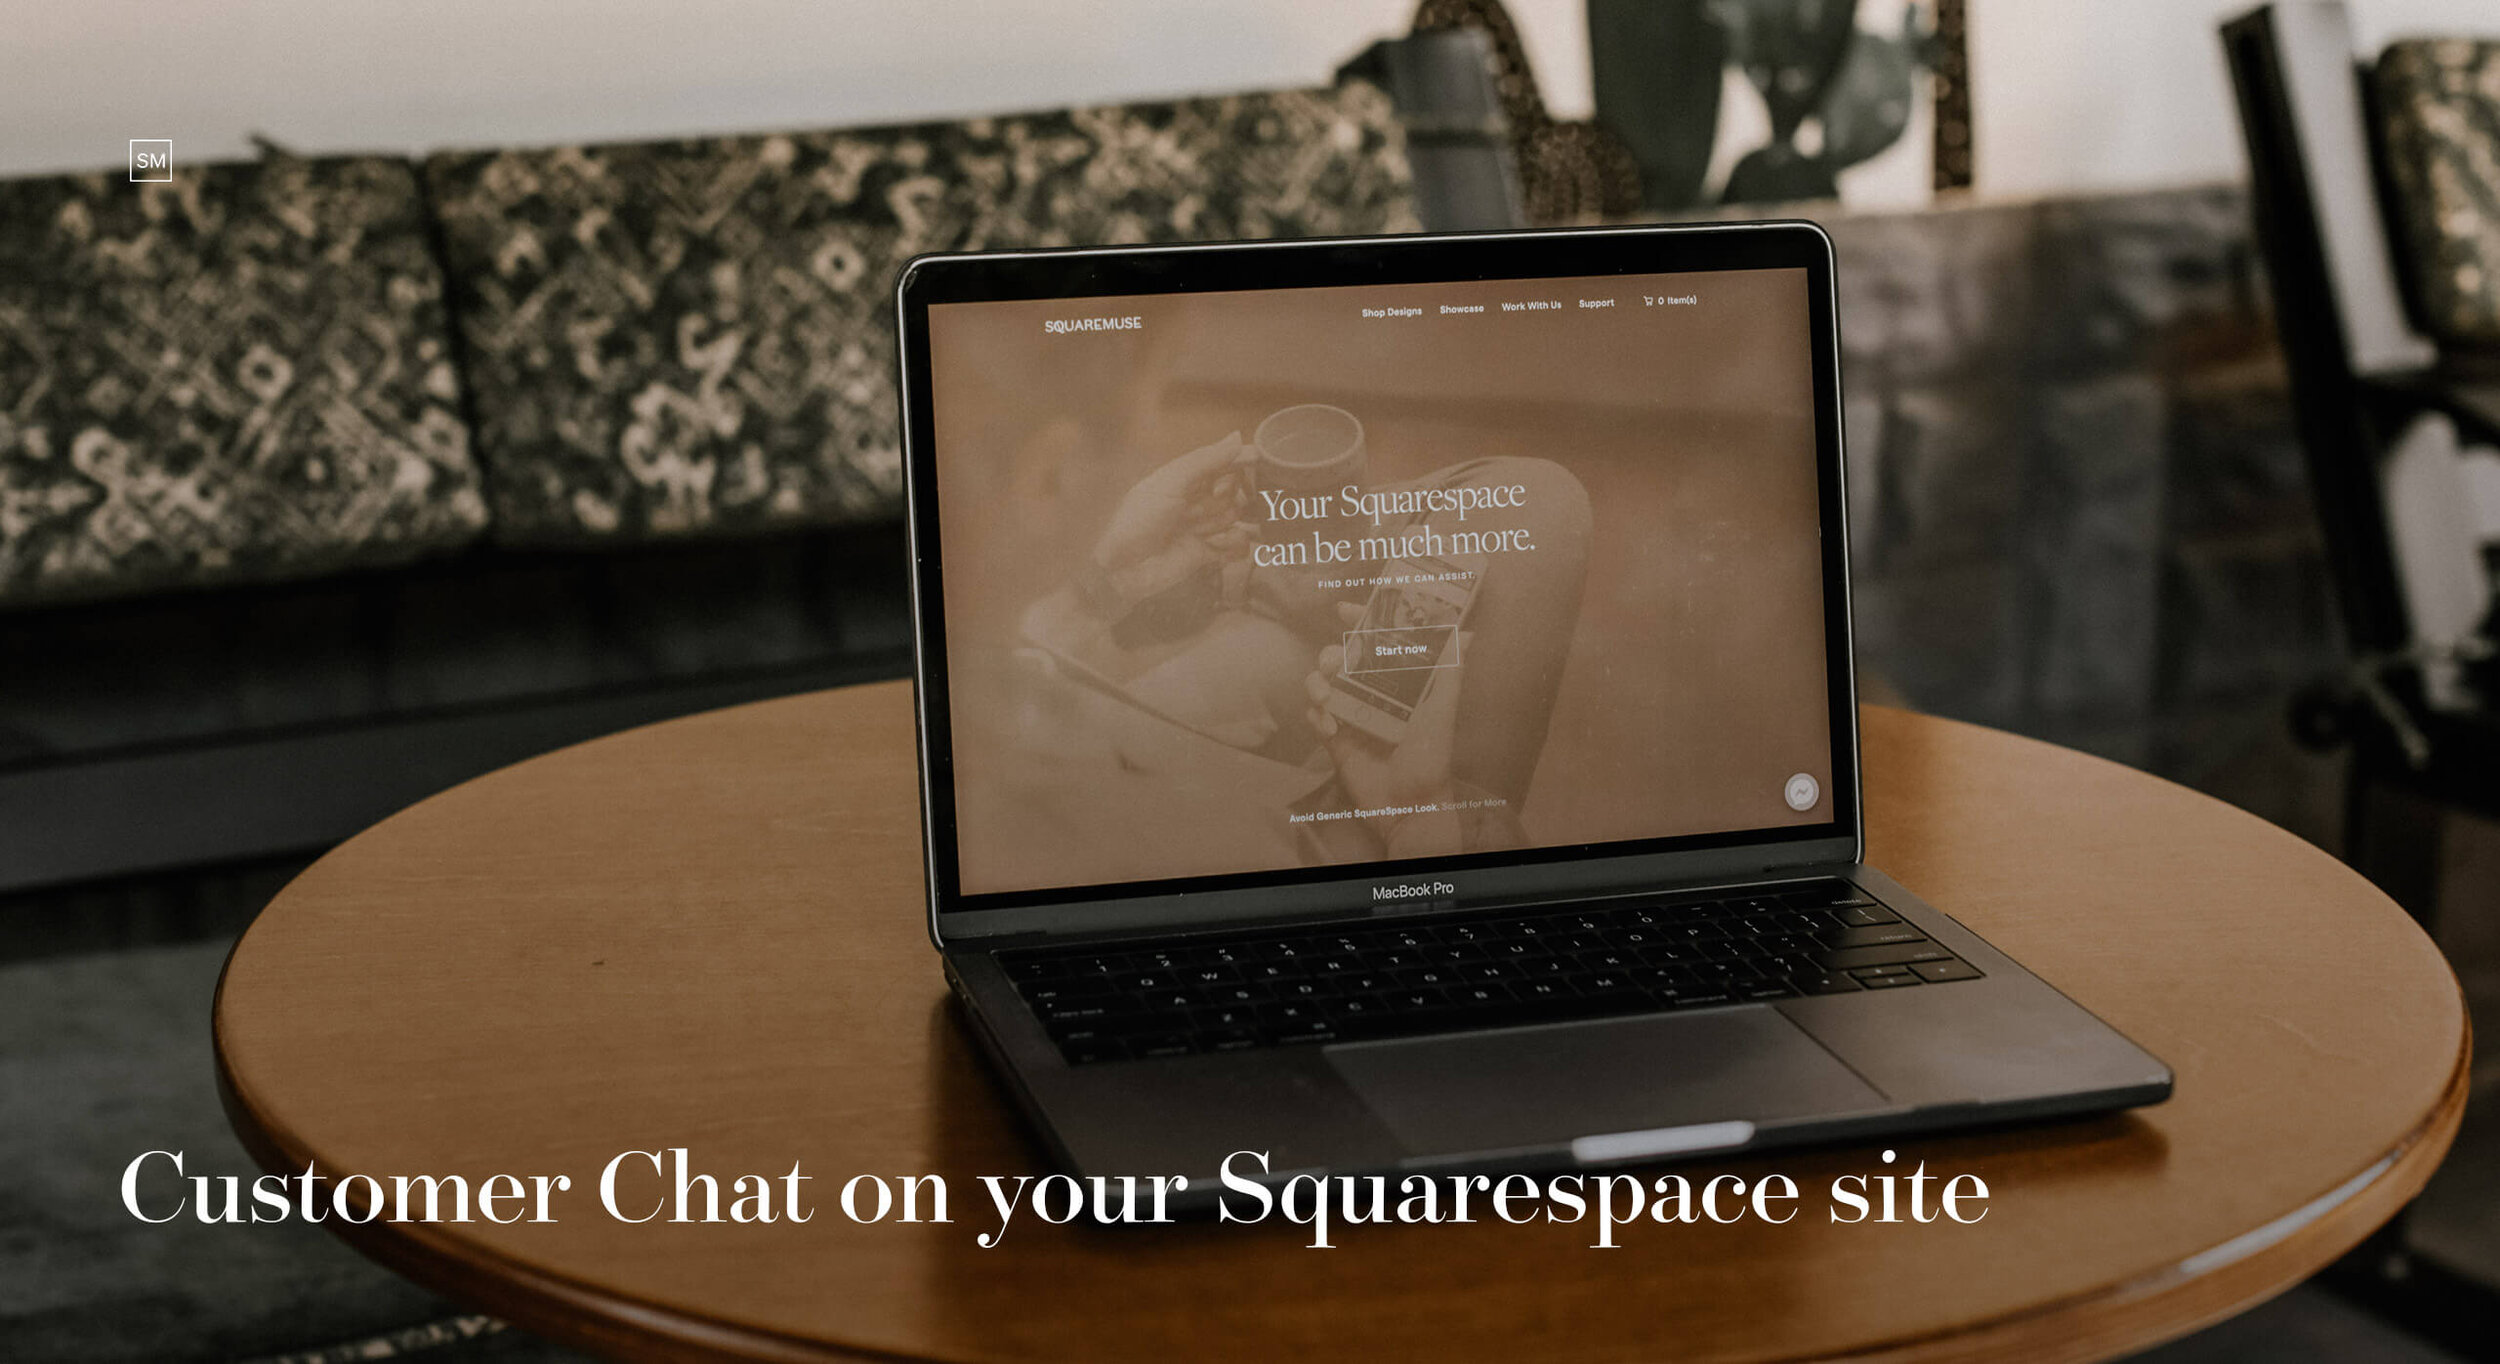
Imagine all your potential customers who enter your website could easily send you a message to your Facebook page, without clicking any additional links or doing any other steps. Can you count the avalanche of opportunities and advantages it can open up for your business? In this article you’ll learn what is Customer Chat in case you’re not familiar with it yet. We’ll also show you how you can integrate it on your Squarespace site in an easy to follow step by step video tutorial. Keep on reading to find out more!
How to integrate Messenger Chat on your Squarespace site

What’s Messenger Customer Chat Plugin?
The Messenger Customer Chat plugin is an extension you can integrate on your site, which allows users to connect and send messages to your business Facebook Messenger account directly as they access your website. You must have already seen it on various sites on the web that have implemented it, including our own.
The Messenger plugin grants site visitors opportunity to chat on a platform and in a setting they are most familiar with, thus leading to more meaningful connections.
What are the benefits using Messenger's Customer Chat plugin?
Messenger is a well-known app that your site visitors will easily use. With 1,5 billion users on a monthly basis, it is much more comfortable for prospects rather than a less known app. For those who already own a Facebook account (and let's be honest, that's most of people who you'd want as prospective clients) , writing you a message is one click away.
Facebook gives you information about the person connecting with you. Small details like their name, gender, speaking language and location make the conversation’s flow so much easier. Addressing people who write you by their name or answering them in their native language can be a nice surprise for them.
The Customer Chat Plugin saves and loads the chat history between the person and your business. This allows you to easily access recent conversations with the same person, and in the end leads to less confusions and better satisfaction level from potential clients. Let’s imagine that somebody who wants to book a photoshoot enters your website and has a question. An option would be writing you an email. That would involve finding the email form, filling in their name and other details, sending it and checking their inbox until they see your answer. A second option is Messenger Chat. They see the popup, type a short question, get away from your website, and when you’re available they’ll see the answer in the same Messenger conversation inside their Facebook account.
Facebook messenger allows you to set instant replies and predefined answers, which can help a lot in optimizing the time spent on customer service and focusing more on high-end clients. Template replies allow you also to set predefined answers with site links to particular shoot locations, genre of event, etc. Additionally, the plugin can be integrated with chat bots, a technology which is not so popular yet but will have a big role in the future of advertising.
How to integrate it?
You will require a Business Squarespace account to set up the plugin on your site.
There are 2 Options to introduce the Customer Chat on your site: first option is using developer tools for those who know coding. The second option is the Setup Tool, which is available inside your Facebook Page's account settings. As it is a more reliable and less confusing process, we’ll elaborate step by step how to use the Setup Tool. Follow the steps below or watch the following quick video tutorial.
Using the Setup Tool
To be able to use the Setup Tool, you need to be the Page Admin of the Facebook Page you want to link to the site.
First you need to obtain a code from your Messenger account which you’ll therefore introduce in your Squarespace backend. To generate it go to Your Business Facebook Page > Settings > Messaging.
Find 'Add Messenger to your website' section, and click the 'Get Started' button
In the menu that pops-up, customize the greeting message, the color of the chat icon to match your branding, which will appear on your site, and the greeting message that will show as a welcome message.
After you’ve done all the edits, add your full website link to the “Add website domain name” section on the upper left corner and then copy the generated code from the window on the right to your Clipboard.
Once you’re done with that, you need to inject the code in your Squarespace account. Go to Settings > Advanced > Code Injection and paste the code you’ve just generated in the footer area.
* Note - if you already have some codes in the injection panel, paste it below what you already have. Don’t delete anything out from that box, that will disable other functions you activated by imputing CSS codes.After generating and injecting the code, your Live Chat should work. Refresh your site and double-check if everything works and looks as intended.
Subscribe
Subscribe to our newsletter to receive a Free SEO eBook.
PS: We value your time and we will only send emails of interest: educational resources, promos & available freebies.
Did you find this article useful? Subscribe to our newsletter to receive monthly inspiration, updates, and freebies directly in your inbox.

